25.3 Network tool
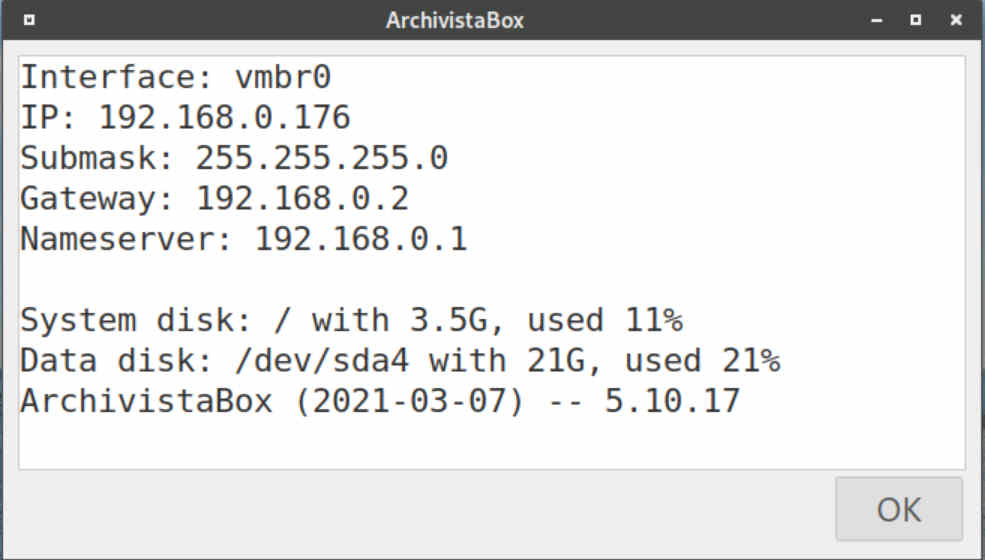
To edit settings on the IP characteristics (address of the ArchivistaBox), you should first ask for the current values. To do this, start the Start menu (Windows-Tate or click on icon at the bottom left), call up the ArchivistaBox menu and select 'Status' there. You will get the following form:
The program for changing the network data can be called from the start menu via 'Network tool':
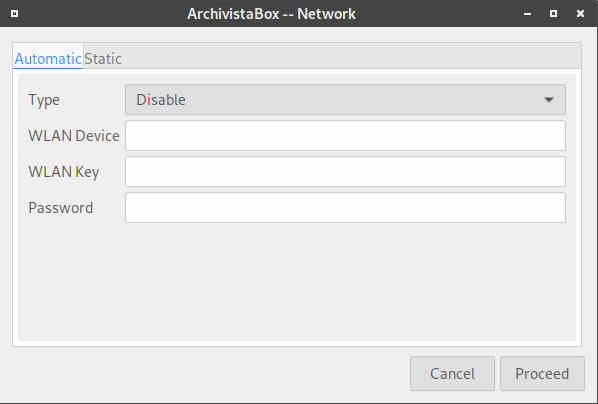
On the start form you will find settings to run the network with a dynamic IP address or to turn it off completely. The following options are available:
disable: All network components will be disabled, thus no external access is possible.
WLAN: Enter the name of the WLAN router and the key to allow permanent access via a wireless network.
USB: Connect a smarphone (Android) and select 'USB tethering' on the smartphone. This will allow you to access the web via the smartphone.
Cable: This option can be used to obtain an address via a DHCP server.
 With all options the root password of the ArchivistaBox must also be entered. This is the only way to make changes.
ArchivistaBox systems are normally operated via a fixed IP address. You can assign a new IP address using the 'Static' tab:
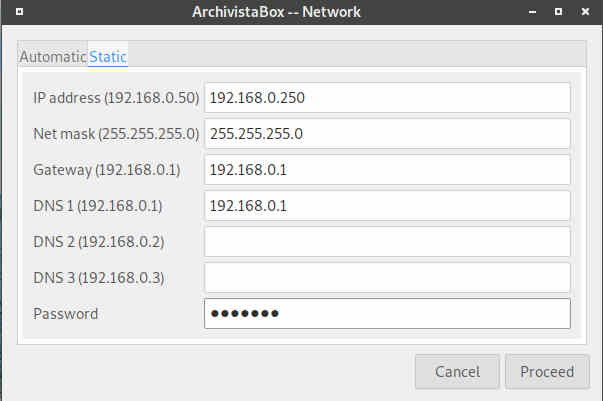
Enter all IP credentials here and enter the root password at the very bottom. With 'Execute' the data will be activated.
In addition to the 'Network tool' utility, a temporary WLAN connection can be established with 'Wicd'. To do this you will find the corresponding icon directly on the ArchivistaBox desktop.

A WLAN connection can only be established if no fixed IP address is preset. To minimize external access, WLAN is not even started for a static environment for security reasons. To be able to work with WLAN addresses, a dynamic IP address must first be activated via 'Cable'. After that, a reboot is necessary and only then can you work with WLAN.